
How to Install and Activate Excel Add-In
Excel already has thousands of formulas for processing large and complex data. But sometimes there are problems that can be resolved quickly by using an add-in. For example, to combine several worksheets into one. It will take a lot of time if you copy sheet by sheet and combine them together.
An Excel Add-In is a file that usually has the .xla or .xll extension in Microsoft Excel that can be loaded when the Microsoft Excel application is started. This file contains VBA code that is useful for adding additional functionality to Excel, usually in the form of a new function.
We will show you the steps to install an add-in in Excel.
How to activate a preinstalled Excel add-in
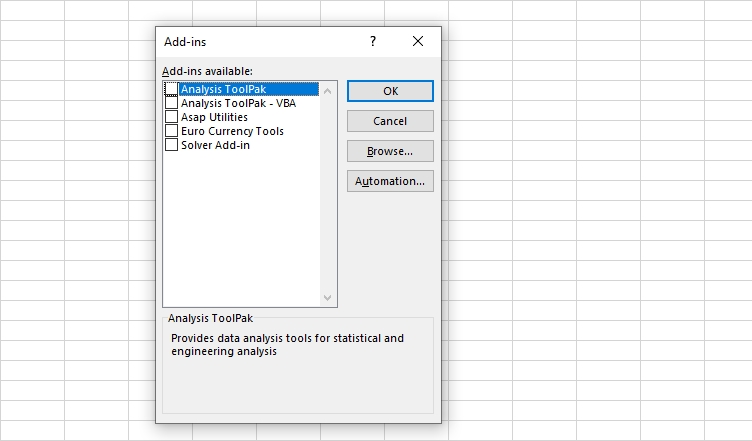
When you installed Microsoft Excel, there were several add-ins that were already installed but not activated, for example the Analysis Toolpack, Inquire, Microsoft Power Pivot, etc.
To use the add-in, we just need to activate it in the following way:
- Click the File tab, click Options, and then click the Add-Ins category.
- In the Manage box, click Excel Add-ins, and then click Go.
- The Add-Ins dialog box appears.
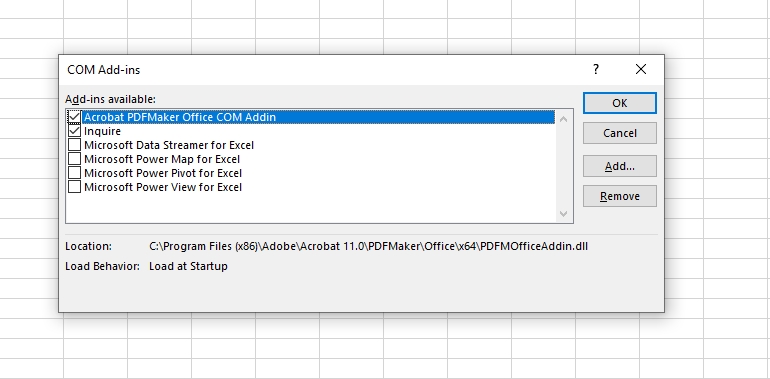
- In the Add-Ins available box, select the check box next to the add-in that you want to activate, and then click OK.
- If you cannot find the add-in that you want to activate in the Add-Ins available box, you may need to install it.
How to install an Excel add-in
There are two methods for installing the excel add-in. The first way is to install the .exe which is the installation package for add-ins such as ASAP Utilities. Once installed, the add-in menu will appear on the Excel toolbar.
The second way to install the Excel Add-in is to place the .xla file (an add-in file in the form of a VBA script) in a non-moving location such as drive C. Click the File tab, click Options, and then click the Add-Ins category, then click Browse (in the Add-Ins dialog box) to locate the add-in, and then clicking OK.
How To inactivate an Excel add-in
- Click the File tab, click Options, and then click the Add-Ins category.
- In the Manage box, click Excel Add-ins, and then click Go.
- In the Add-Ins available box, clear the check box next to the add-in that you want to inactivate, and then click OK.
- In many cases, when you inactivate an add-in, it is removed from its group on the ribbon. In other cases, to remove the add-in from the ribbon, you may need to restart Excel.
- Note Inactivating an add-in does not remove the add-in from your computer. To remove the add-in from your computer, you must uninstall it.
How To remove an Excel add-in
- Click the File tab, and then click Exit.
- In Setting, click Apps.
- Do one of the following:
- If you installed Excel as part of Microsoft Office, click Microsoft Office in the list of installed programs, and then click the Change button.
- If you installed Excel individually, click the name of your program in the list of installed programs, and then click the Change button.
- If you installed the add-in from the Download Center, click the name of your program in the list of installed programs, and then click the Uninstall button. Follow the instructions in the installation program.
Good luck!